I present the UFO in question, my (Modified) Sapphire Stars Mystery quilt from Kevin the Quilter:

The top (normally oriented vertically) measured only 22.5" x 29.5", as seen in the photo above. It was in dire need of an expansion project, but I just didn't have the bandwidth to continue through the clues of Kevin's Mystery. Don't get me wrong! His quilt turned out great, but after 3 years of quilt parts hanging out on my sewing table, it just needed to be DONE!!
Here are the steps I went through...
Step 1. Find the borders which were made at Quilt Camp.
Step 2. Try using ALL the pieces and parts made during the mystery:

Well... THAT didn't work!!
Step 3. Show the above photo to quilting friends and received the following feedback...
Fairfaxknitter: I like the piano key border. Recommend making it narrower, 2/3 the width of the inner blocks, and make it all perpendicular to the quilt top.
Stitchley: That’s nice work on the border but I think it overpowers the quilt. i think I might put it aside for a different project and work on coming up with something simpler. Too much red and yellow distracts from the main focus, the pretty blues. Some colorful touches but not quite this much! ( my opinion and worth every penny of the price!) rich but deep, calm, and subtle is how I would describe your center panel and those ideas should carry out to the border.
Knittingsuek: Um, yup, “bright” is the word I would use :p. Definitely is overwhelming. Have you tried pushing it under the quilt so only a square the size of your cornerstones show? The smaller amount might work and it would be a way to audition. Then you could just chop off what you want and save the rest for another project.
Thanks, you guys!!
Step 4. Seek a professional opinion.
Step 5. Follow the advice of my friend Libby @ Hillside Quilter, which was to pull in a border with yellow/gold and then use the piano keys all around. I stopped for a photo op after the first part of her recommendation:

Step 6. Add in the borders that Kevin had proposed for the real Sapphire Stars quilt:

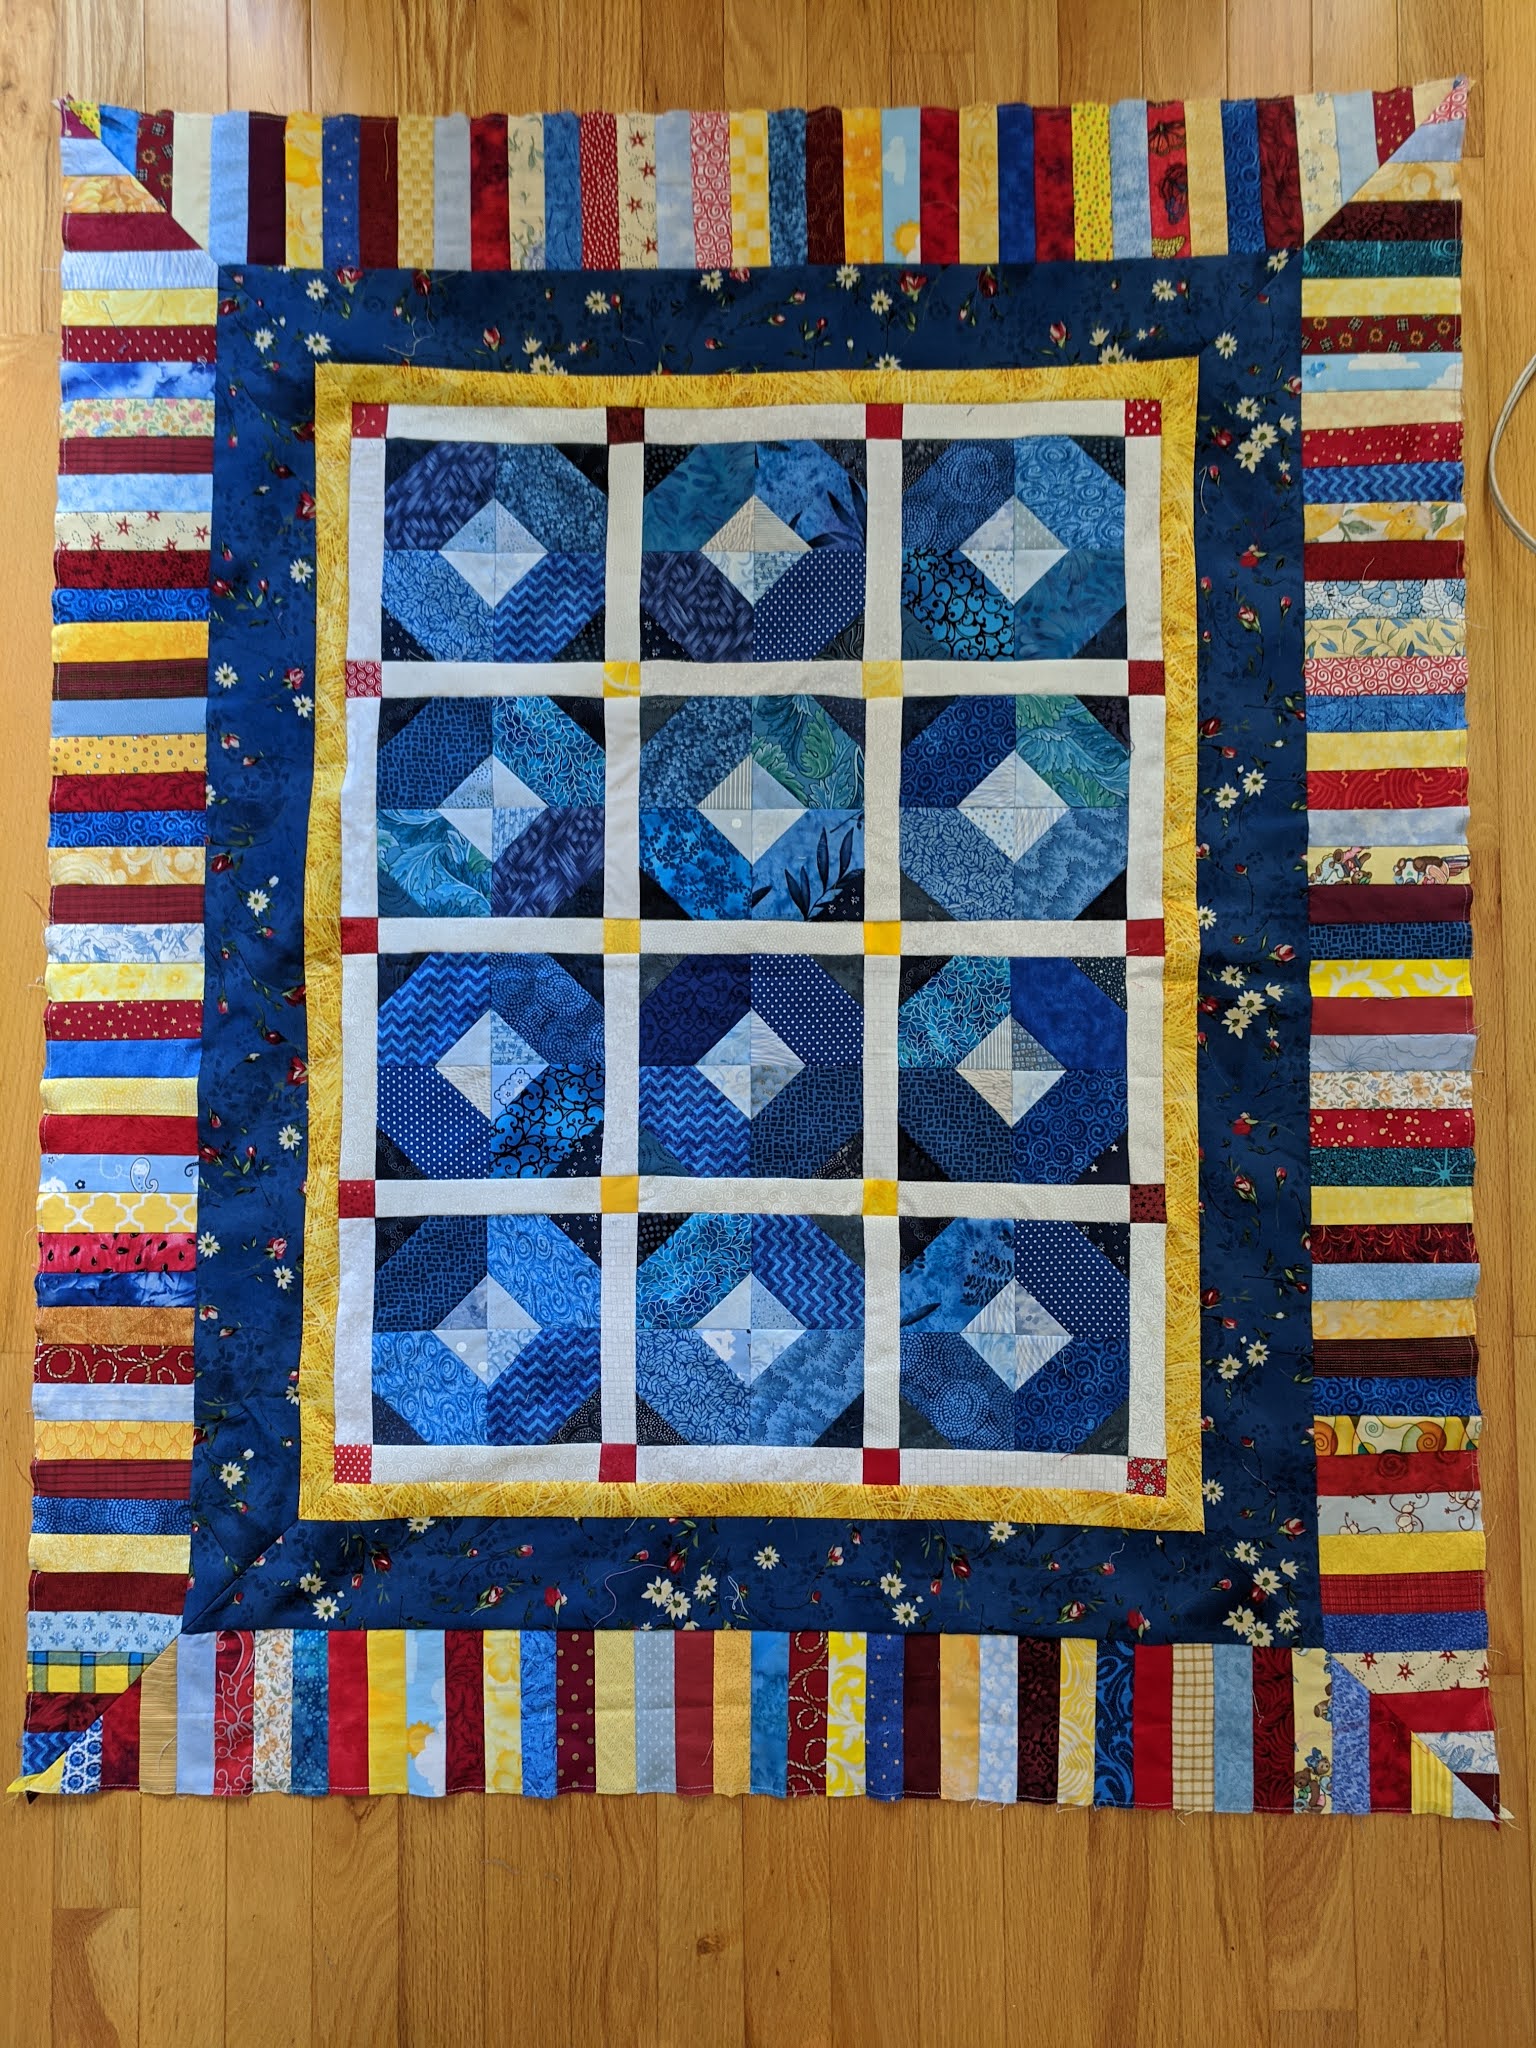
Step 7. While the scenario above was better then my initial attempt to USE ALL THE THINGS, my friend Libby (and a couple of my Ravelry friends) suggested only using the piano keys:

Step 8. Phone a friend for a 2nd opinion. Needleb's comment was, "I like it! It changes the character of the center and adds a lot of energy."
I am thrilled to present Modified, The Extended Version:

WHAT?!?!
You think they need to be sewn on??? Harrumph. :o((
Well, they will be. Eventually! That requires another set of steps...

It's a good thing that I have PLENTY of those...

... Along with some bits to use on something else when this is done:


... The borders are sewn to each other. All that remains is attaching them to the quilt top. I'm planning on doing the miters. Here's the mock-up. Now, I just have to sew:

Let the bordering begin...

Followed by MORE pressing:

Just LOOK at that beautiful miter! Well, the FIRST one was good...

... Unfortunately, they got incrementally worse with each successive mitered corner:

Luckily, I've discovered (and embraced) the fact that perfection is overrated! Next, I'll press those miters...

... Then, trim away the excess fabric:
I've been waiting all week to share this with you. At least, this quilt is happy with the way I chose to finish it off (unlike my IMPROV Scrap Swap.) Whew!
The next step will be to choose (or make) a backing backing for the freshly completed ~ 40" x 45" quilt top. Here is the top choice, not too feminine and not too masculine. I think it's just right:

I'm pleased that this UFO is ready for quilting. That will have to wait until I've worked through the backlog of client quilts.
Sharing with Alycia
for
Until next time...
Sew. QUILT. Now!!!
excellent choices for a pretty finish
ReplyDeleteWhew! Great finish.
ReplyDeleteYou ARE the UFO slayer! The borders turned out great! I love yellow, red, and blue together.
ReplyDeleteYou rock! And your friends are full of great advice! I really do like it!
ReplyDeleteWow... You are on a roll with the UFO slashing this quarter. What a process on this one but the end result is great.
ReplyDeleteAll these suggestions and feedback from friends really paid off big. It's awesome now! Wonderful team work on this. Congrats! ;^)
ReplyDeleteLovely quilt, congratulations! I love it!
ReplyDeleteMy favorite quilts always have two things--scraps, and stories! This quilt fills the bill, from the seeds planted by the mystery quilt, through each design decision along the way, to the lovely finish. Go, UFO Slayer!
ReplyDeleteOhhhh I really like your modified version!! and I love those Miter corners - that adds a whole new dimension to it!!
ReplyDeleteFun to see your thought process on this. I like the end result a lot.
ReplyDeleteIt takes a village to make a quilt sometimes! Good thing your village has such great ideas :)
ReplyDeleteBeautiful Finish, Joy!!! Love the blue diamonds and the border brightens it up and the miter corner really elevates it. Very well done!!!
ReplyDeleteWell done!! Love the borders, and the mitering looks great! So nice to get input from friends, and you put it all together beautifully.
ReplyDeleteI have THREE Sapphire Star quilts started but not finished. I don't think I have that much to do to any of them.
ReplyDelete