I liked it so much that I decided to use it for a blog post (or 2 or 10!)
The work continues...
In the first Decrapification Project post I addressed the furniture arrangement portion of the process. This post will move into the next part of my studio redo project.
Step Five - Relocate fabric (and the scraps.)
This could be REALLY tricky...

Since the REST of the fabric is located...
HERE... In this white dresser:

And HERE... In this brown chest:

OK, ok... in front of it, too!!!
And HERE... In these TWO chests of drawers:

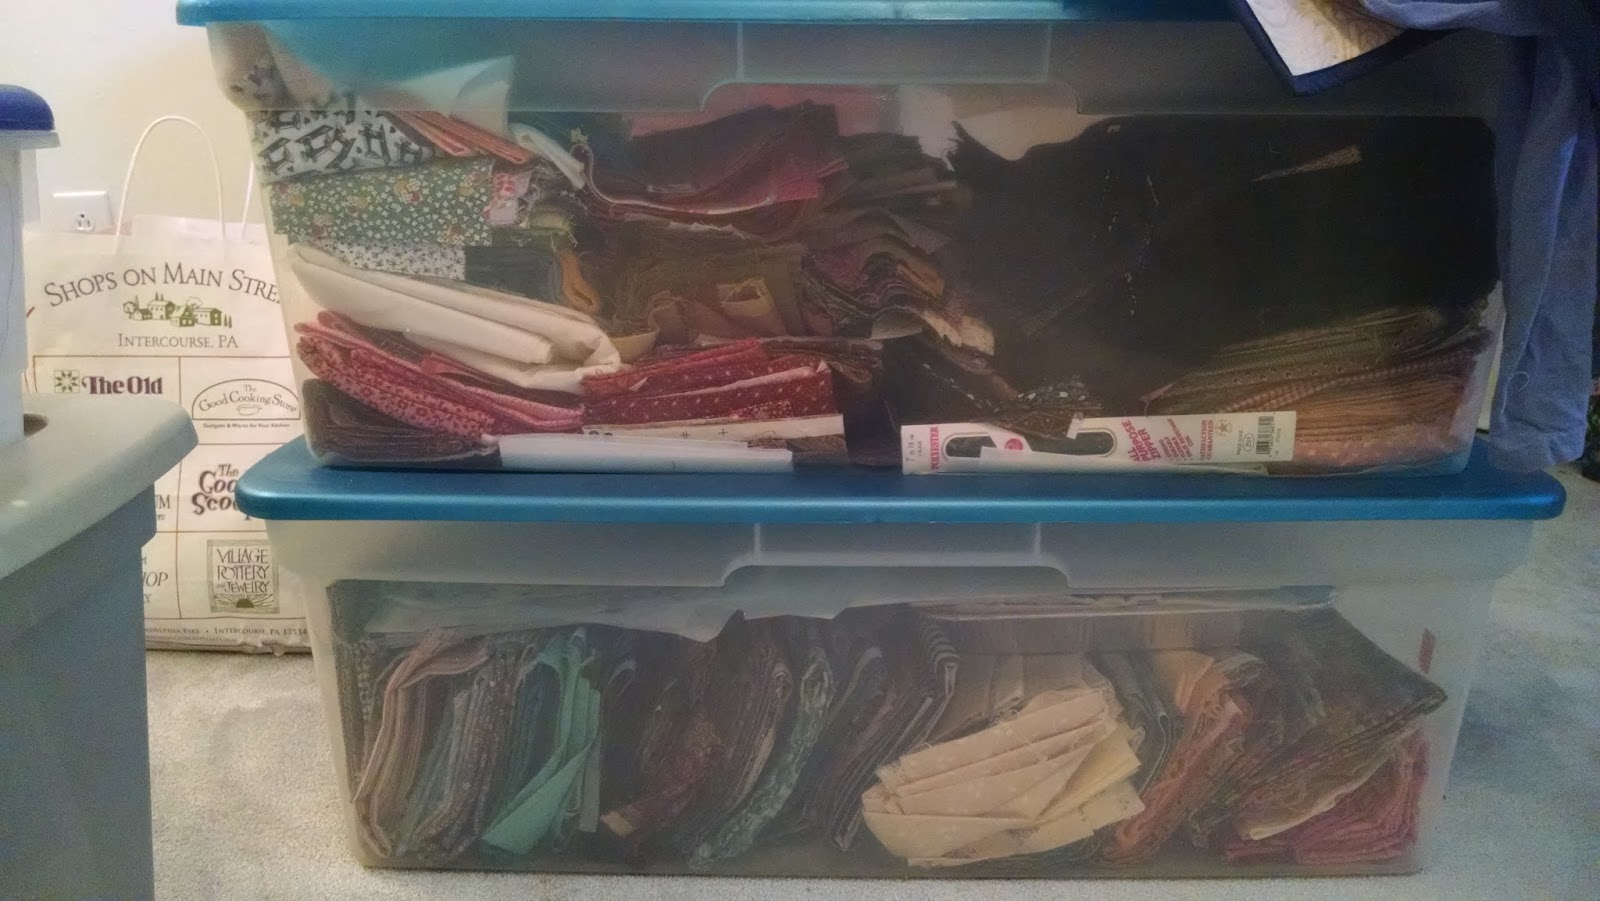
But, WAIT!! There's MORE in a couple of these GIANT tubs:
... And a pile of these plastic under-bed bins. Oops! This one is holding yarn. There are FIVE MORE just like it that are holding fabric, current projects, and UFOs:

Yes... this is only a SMALL bit of the yarn also in the room!
Are you beginning to grasp the ENORMITY of the problem??? I'm pretty sure I have a problem!!
But, Joyful, HOW can having enough fabric to quilt for the rest of your life (and then some) be anything other than a really GOOD THING?!?!?
Well, Quilters, it's like this...
ALL of that furniture HAS. TO. GO!!!
Wait, WHAT?!?
That's right. Your eyes did not deceive you. All of the furniture must find new homes. The only pieces staying are the two tables, two bookcases, and (hopefully) the fabric cubby/pressing station.
(At least, that's the plan!!!) SEW... I ask you...
WHERE am I going to put ALL THIS FABRIC?!?!?!?
Please comment, if you can come up with some (inexpensive) storage solutions.
While YOU were thinking, Needleb came over to help.
Sorry the picture is a little dark:

Even though you may remember THIS (recently) clean floor:

It LOOKS really nice, but it's not very practical in this quilt room. The floor was basically wasted storage space! Five of the six under-bed bins are housed under the tables and the leg room is less cramped than it was HERE:

Notice the colorful cubbies sitting on the floor in the clean shot?
... And put the cubbies up there???
Well, I wasn't immediately convinced, but we talked about her vision and I thought about how it would take care of two problems.
First, the hutch REALLY didn't function (for me) the way she thought it might. Second, the cubbies would eat up too much of the path to use them the way we had (pressing station) in the last iteration of the sewing room.
SEW... I ran it by DH (since he would have to provide the muscle behind the move!)

The photo above shows my new Scrap Center. Isn't it AWESOME!!! I might even adopt the rule
that if it doesn't fit here, it doesn't stay. Nah!! That's a BIT too extreme for me. LOL
Without Needleb, NONE of this would have been possible. THANK YOU, Britt!!!
Until next time...
Store that stash!!!
Brilliant Britt!!! Not only practical but it looks SEW cool!
ReplyDeleteYay! I helped! Lol. Seriously, it looks good in its new home. Can't wait to see more of your room transformation! (Love the blog post title too)
ReplyDeleteThe last picture almost tempted me into cleaning up my sewing room ... almost! lol. Great job and I love the idea of the cubbies on top of the dresser. ;^)
ReplyDeleteFabric storage - I store folded yardage on open shelves by color family. Stuff smaller than 1/2 yard goes into CLEAR plastic storage boxes by color groups (think divisions on the color wheel) on open shelves. 5" and less scraps are stored in CLEAR plastic Accessory Box storage boxes (6x6x4 'ish), again on open shelves. I'm guessing you get the "if it is out of sight, it is out of mind" theory - I need to SEE my fabrics (closed dresser drawers would not work for me)
ReplyDeleteNicely done, Joyful!
ReplyDeleteA terrific storage solution and, as Julie says, seeing stuff is a reminder to use it. Enjoy your new space.
ReplyDeletePutting the cubbies on top of the dresser is a super solution. It's called making the best use of vertical space!
ReplyDeleteLooking good!!
ReplyDeleteGo vertical, my friend! Walls were meant to be stacked with fabric.
Diane
Your table under the hutch is exactly the same style as my desk which I use as a sewing table! I had to look at your decrapification posts!
ReplyDelete