Back in May of this year, I was feeling inspired to start a new quilt. (Thanks to Kris7 and Jrnylst on Ravelry!!!) You can read about it in THIS post.
For those of you who don't care to link back, the quilt started off looking like this:

This background was smaller than it should have been, but I used all of that yellow on hand. Then, I added the circles, anyway. (I figured that I could add a border after the central portion was done.) After deciding on the color order and adhering the circles together, I then chopped them up and sewed the pieces down on the background in a rather unconventional form of machine applique. (At least, for me it was unconventional - for you it may be just plain old raw-edge applique!)

That step is shown in the post linked at the top of the page. I'll skip that part and you can see what how everything turned out in just a second. For now, know that it was quilted and then sat awaiting binding. For a very. long. time. Months, even!!!
At one point, around about August, I even chose the fabric for the binding. It's pictured below:
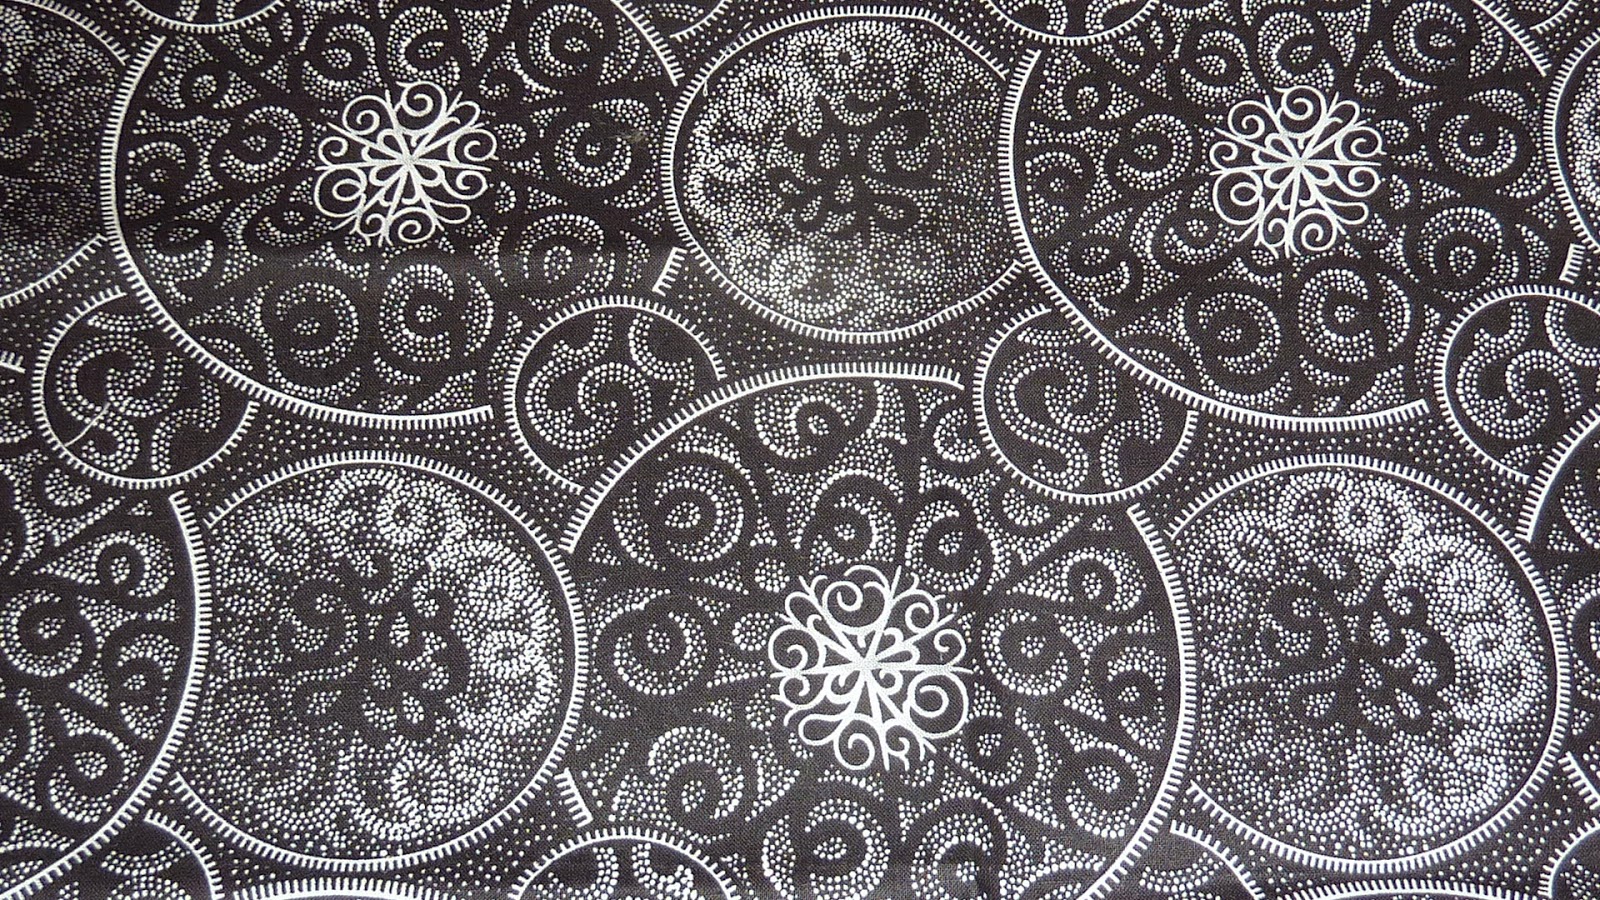 |
| And, if NeedleB had had her way, it would have been RED! |
 |
| Today, I decided enough was enough and it was time to bind. |
 |
| This shows the "hanging corners" that I added when I realized that I had forgotten to attach a sleeve while sewing on the binding. These are true fabric savers. It only took two 3.5" squares! |
Speaking of the binding...
I sewed it to the FRONT and flipped it to the BACK. That means that I ended up spending an additional 45 minutes finishing the quilt... BY HAND!!! Time that could have been spent starting this blog post. :o((
When I sew artsy-type quilts, I often tend to attach the binding to the BACK of the quilt and then flip it to the FRONT and sew it down by machine. It's faster and produced a fairly nice finish (most of the time.)
I generally save my hand stitched binding for gifts or large quilts that I will keep. I could have done so with this little quilt. I noticed my error before it was too late, but chose to continue anyway. Here is the outcome:
 |
| You may notice that the quilt is just 10" x 10", meaning that the additional border never got added to the quilt. Oh, well!!! I guess it wanted to be a teeny tiny quilt. :o)) |
 |
| A close-up of the center portion of the quilt. |
 | ||
| I'm considering adding a little more quilting to the center circle... |
Until next time...
Happy Quilting!!!
Cute little mini! Fun to take an idea to reality.
ReplyDeleteThanks, Andi! It had its challenges, but it was worth the effort.
ReplyDelete